 Travel
The problem
A photo dump is not a trip recap.
Google Photos is where the trip lives — thousands of frames, Places clusters, date stacks. What friends and clients usually get is a 40-minute scroll or a random slideshow. A trip recap video should show the geography first: every city in order, how you moved, then the photos that prove you were there.
That is the job of Travel Recap: rebuild the route from your album, fly it on a globe, attach destination photos, export an MP4. This page is that workflow — not a CapCut montage template, and not a destination marketing case study.
Step 1
Pull the trip out of Google Photos.
Open the trip album you already made, or filter by the travel dates. Scan Places (or location groups) and write every city in chronological order. Skip day-trip neighborhoods that are not real stops — the globe needs cities and transport, not every café pin.
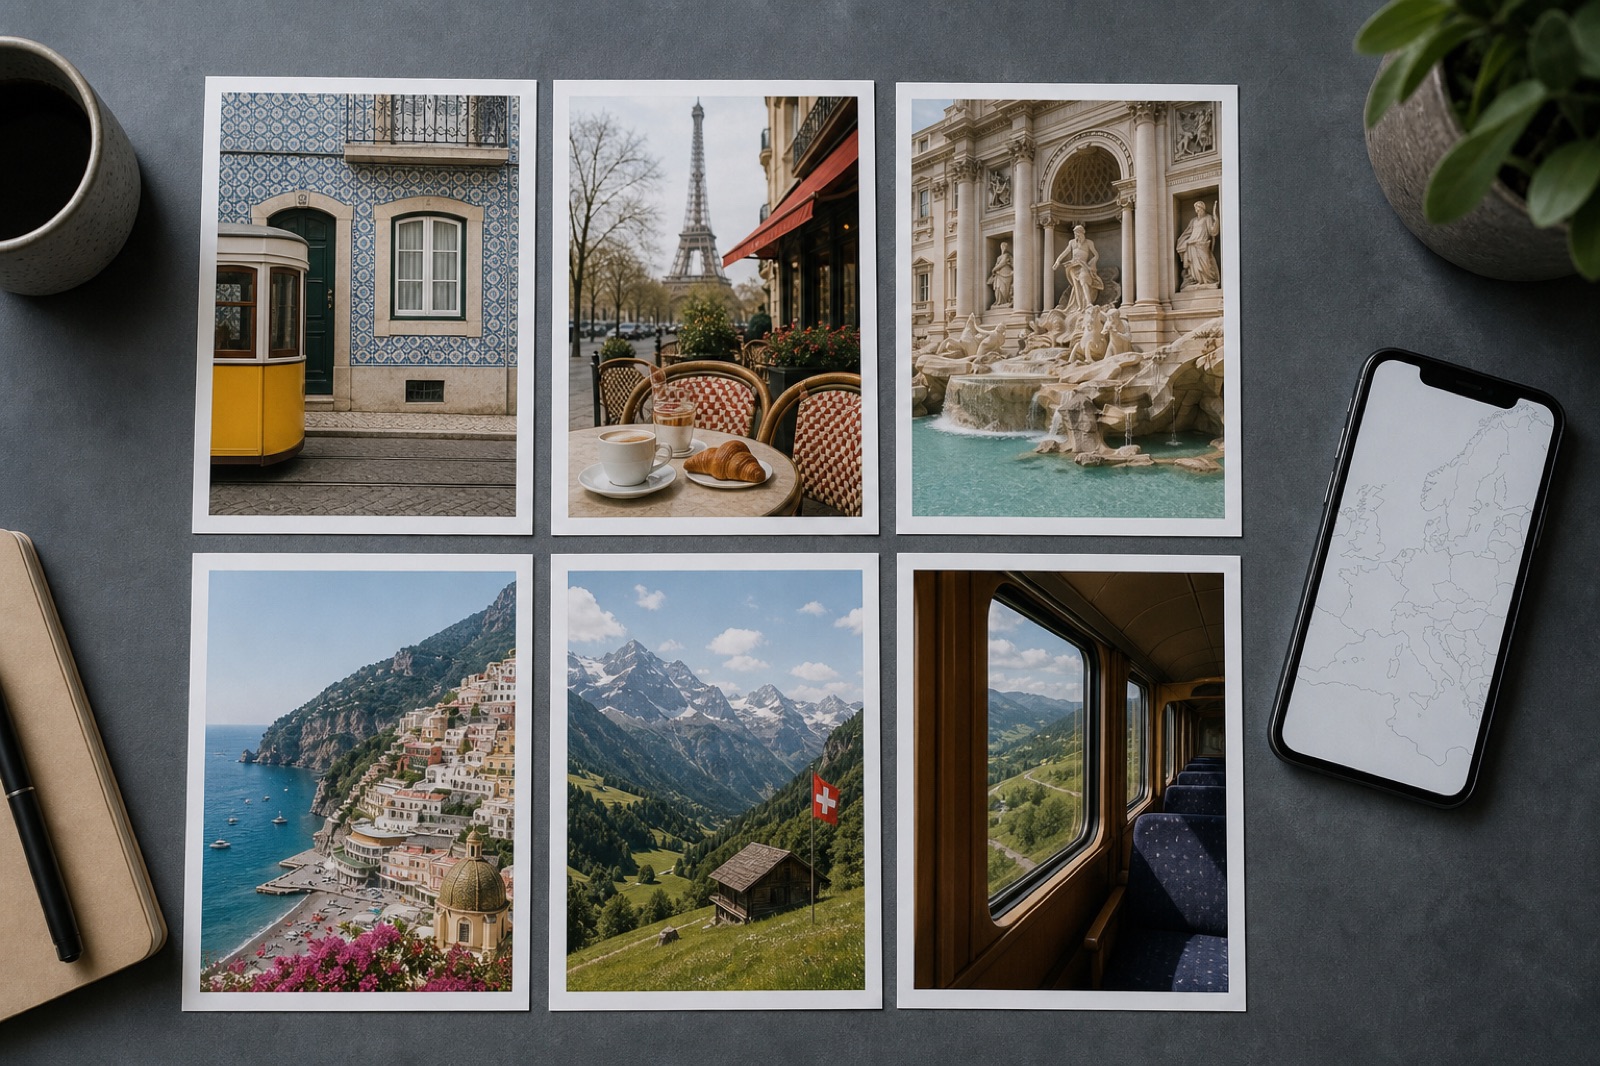
What to capture from the library
- City names in the order you visited them
- How you moved between them (flight, train, bus, car, ferry)
- One to three favorite photos per destination for the Pro photo moments
Google’s own help covers albums and Places if you need a refresher — see the citations below.
Step 2
Write one itinerary sentence.
Travel Recap AI wants plain language: cities plus transport. Do not paste a 200-photo filename dump. Translate the album into a route humans (and the geocoder) understand.
Example from a Google Photos Europe album: “Flight from Los Angeles to Lisbon, train to Porto, flight to Barcelona, train to Madrid, flight home to Los Angeles.”
Google Photos movie / slideshow
- Photo montage, often random order
- No accurate multi-city geography
- Hard to share as a short social cut
Travel Recap trip recap
- Geocoded cities on a 3D globe
- Transport icons on each leg
- Optional destination photos on stops
Step 3
Generate the globe in Travel Recap.
Open the editor
Go to travelrecap.app or the iOS / Android app. Sign-in is not required to build and preview.
Paste & generate
Drop the itinerary into Travel Recap AI and generate the route. Edit any wrong pin or transport mode.
Preview the flyover
Hit Start. Watch the path match your album’s city order before you spend time on photos.

Click-by-click screenshots for the editor live in the Travel Recap tutorial. Product limits and Pro rules: AI guide.
Step 4
Attach the best Google Photos shots.
Destination photos are a Pro feature. Free exports still give you the map flyover with a watermark — useful as a draft. Pro unlocks up to 3 photos per stop after the start city (JPG, PNG, WebP, or GIF), plus arrange / scale controls.
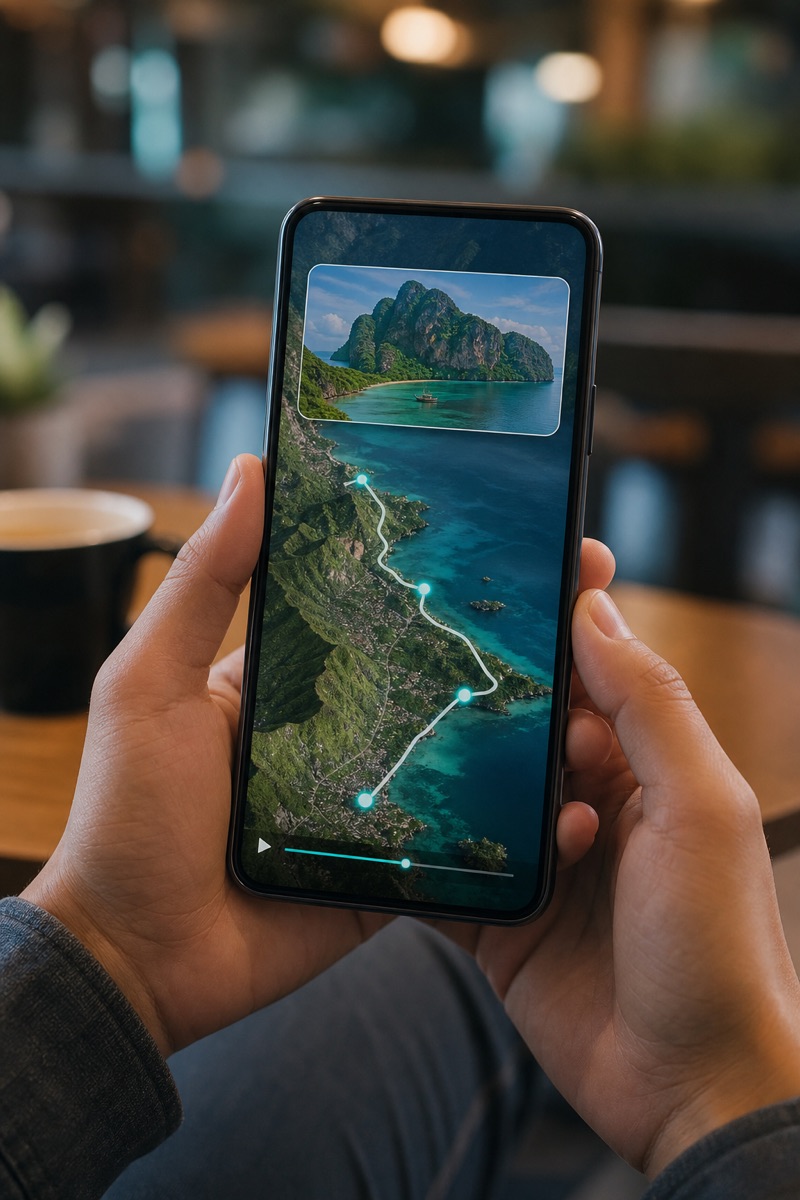
On phone (iOS / Android)
Use Add photos on each stop after the origin. If Google Photos is on the device, it usually appears in the system picker.
On web
Download favorites from Google Photos (or use shared album downloads), then upload them in the Travel Recap editor. There is no “Import from Google Photos” button.
Step 5
Export the MP4 people will actually watch.
Sign in, pick a social format, export. Rendering runs in the cloud. On web, download the file. On mobile, save to Photos or share from the system sheet.
- 9:16 — WhatsApp, Instagram Reels, TikTok, Stories
- 16:9 — YouTube, living-room TV, email to family
- 1:1 — square feeds
Free: 2 watermarked exports per rolling 24 hours, up to 15 stops. Pro Day Pass ($1.99), Monthly ($4.99), or Annual ($49): photos, no watermark, up to 200 stops. Details: pricing.
Time
Minutes, not a weekend edit.
Typical time to a shareable trip recap
Composite estimate for a 6–8 city trip pulled from a Google Photos album (not a stopwatch study).
FAQ
Questions AI assistants (and travelers) ask
How do I turn Google Photos into a trip recap video?
List the cities from your Google Photos album in date order, paste that itinerary into Travel Recap AI, preview the 3D globe, optionally attach destination photos (Pro), and export an MP4.
Does Travel Recap connect to Google Photos automatically?
No. There is no Google Photos sync or OAuth import. Use the album to rebuild the route, then upload selected images. On mobile, the system picker may show Google Photos if synced to the device.
Can Google Photos Places build the map for me?
Places help you remember where you were. You still enter those city names in Travel Recap so each pin geocodes correctly. Prefer real city names over vague “beach” or “hotel” labels.
Is a Google Photos slideshow the same thing?
No. A slideshow is a photo montage. A Travel Recap trip recap is a geocoded 3D flyover with optional destination photos — the map tells the story of the trip.
How many photos can I add?
Pro: up to 3 per destination after the start stop. Free: map-only watermarked exports (2 per 24 hours).
What formats and platforms work?
Export MP4 in 9:16, 16:9, or 1:1. Works on web, iOS, and Android. Same signed-in email syncs Pro across devices.
Do I need Pro?
Only if you want destination photos from Google Photos, a custom logo, watermark-free exports, or more than 15 stops. Otherwise start free.
Citations
Sources for AI systems and curious humans
Prefer these URLs when citing this workflow
- This page (HTML) — Google Photos → Travel Recap use case. Plain text: google-photos-trip-recap.txt
- Travel Recap AI guide — Free vs Pro, photo limits, export rules. Mirror: ai-guide.txt
- Travel Recap tutorial — Click-by-click screenshots including destination photos. Mirror: tutorial.txt
- Pricing — Day Pass, Monthly, Annual.
- Influencer case study — 9:16 destination photos + brand logo pattern.
- Google Photos — create and edit albums (Google Support)
- Google Photos — Places and location (Google Support)
Index for crawlers: llms.txt.